

Drywall Repair: A Beginner’s Guide
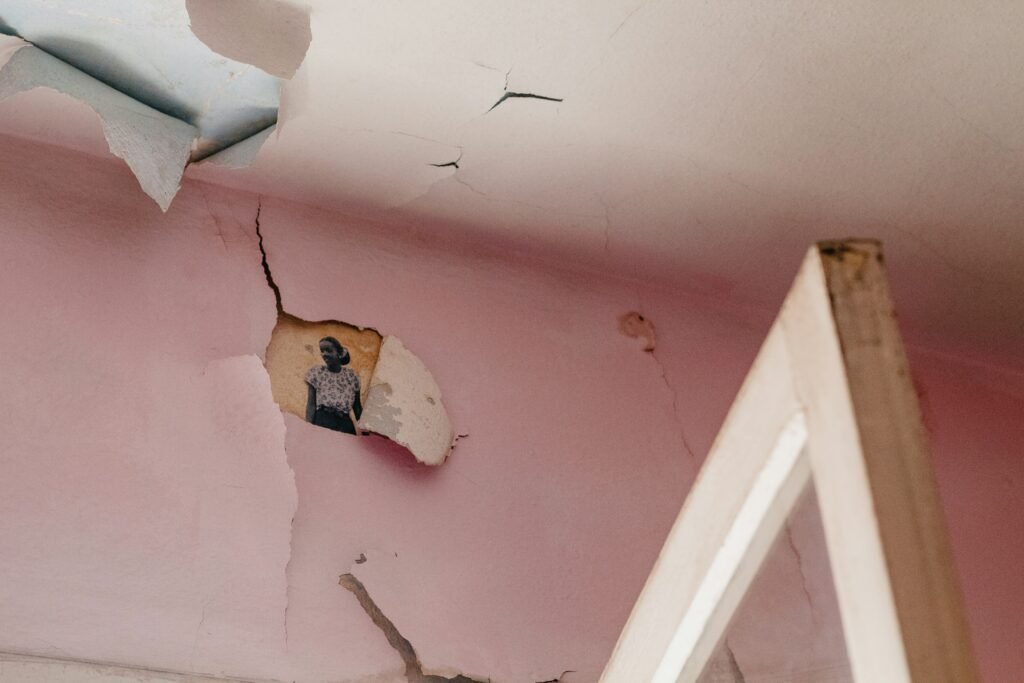
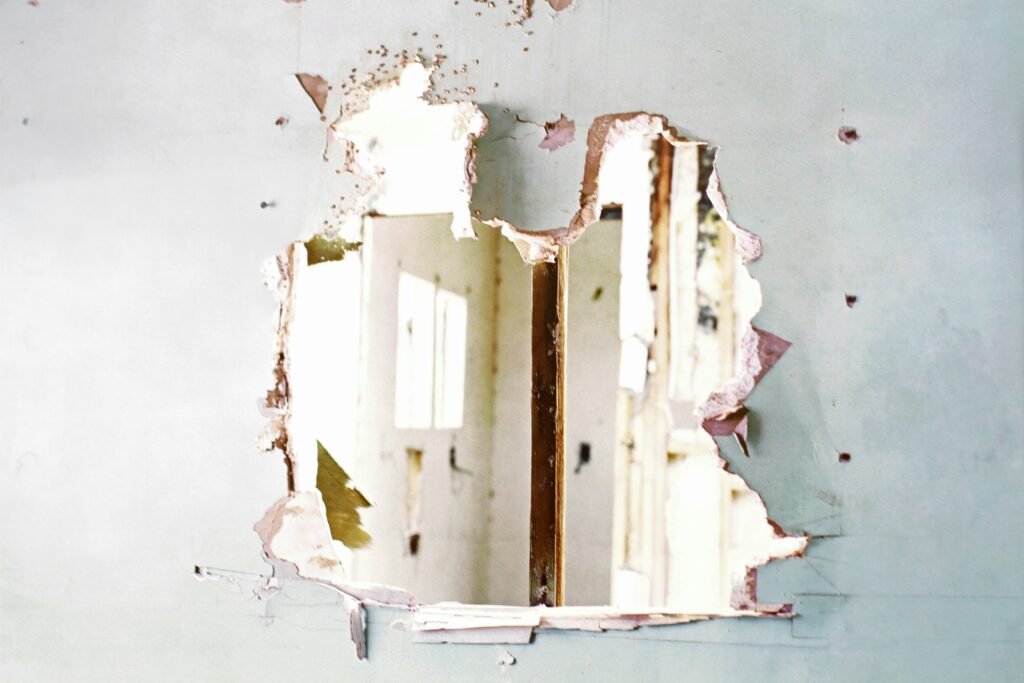
Drywall Repair for Dummies is a simple way to learn how to fix damaged walls without stress. Small holes, cracks, and dents in drywall are common in almost every home. These problems can happen from nails, furniture bumps, house settling, or normal daily use. The good part is that you do not always need an expert to fix them. With a little guidance and the right drywall repair tools, you can handle many small repairs on your own. This guide will show you how to patch a hole in drywall and make your wall look neat again. Drywall damage is a frequent problem in numerous houses. It can be a small hole created by a nail or a huge crack created by the settling, or simply a time of wear and tear. Knowing how to repair drywall yourself would save you time and money. We will discuss how to patch a hole in drywall, all the way up to the most suitable drywall repair tools you will require to make that patch a succeeding one.
Why You Need to Learn Drywall Repair
Sheetrock, or drywall, is a highly popular wall and ceiling building material. Although long-lasting, it may be damaged with time, during daily wear, or through accidental impacts or moisture. Drywall repair does not need professional assistance – with some simple tools and proper techniques, you can repair your walls and make them look like they were initially.
In the following guide, we will guide you through the necessary procedure to repair a piece of drywall or a hole in drywall. With this DIY project, you will be able to approach this home repair project like an expert, whether you are a beginner or an experienced DIYer.
Tools and Materials You’ll Need for Drywall Repair
The following tools are required in the process of drywall repair before you begin. These tools will assist you in getting a smooth and professional finish.
- Utility Knife: This tool is used to cut drywall and trim the area of the damage.
- Drywall Saw: It is used to cut larger parts of the drywall in case of larger holes.
- Joint Compound (or Spackling Compound): To fill cracks and level the surface.
- Putty Knife or Drywall Knife: This tool is used to spread the joint compound.
- Drywall Tape (Mesh or Paper): This is used to strengthen the patch and to prevent cracking.
- Sanding Block or Sponge: To smooth the patch once it has dried.
- Primer and Paint: To complete the repair and all the patched areas with the rest of the wall.
- Tape Measurer: To find the size of the hole so that you can patch it properly.
When you have the tools and materials needed, you are now prepared to start the process of repairing drywall.
Step 1: Prepare the Damaged Area
The initial step in the process of the repair of the drywall is to set up the surroundings of the damage. It could be a hole, crack, or dent, but it is necessary to clean up the area of damage and smooth it.
- Clean up the Damaged Area: In the event that the edges of the hole are loose or torn, use your utility knife to remove the loose part. This assists in making a smooth, clean edge of the patch to fit.
- Shape the Hole: When the hole is not a square or a rectangle, use your utility knife or drywall saw to cut it into a clean square or a rectangle. This will help the patch to be more secure.
- Eliminate Dust and Debris: Wipe off any dust or rubbish in the area with a moist cloth. This makes the joint compound more adhesive to the surface and prevents air bubbles underneath the compound.
Step 2: Prepare and install the Drywall patch.
You have now prepared the damaged part; it is high time to make a patch of drywall that fits in the hole.
- Measure the Hole: Measure the size of the hole with your measuring tape. Take a piece of drywall that is a little bigger than the hole and leave a small area in between the edges so that the joint compound can fill in.
- Apply the Patch: Fit the Patch: Fit the drywall patch by cutting it with a drywall saw or utility knife to fit the hole. Ensure that it fits closely in the hole but not too snug.
Step 3: Apply the Drywall Tape
A component of patching is drywall tape. It strengthens the compound and avoids cracking of the patch with time.
- Install the Tape: In case of a big hole, use mesh or paper drywall tape on the sides of the hole. In the case of cracks, all that one has to do is apply some tape to the crack line.
- Insert the Tape: Apply your putty knife to flatten the tape and make sure it is flat and secured to the drywall. This is the most important step towards a good and safe repair.
Step 4: Apply Joint Compound (Spackling)
Now, the hole and drywall tape are to be covered with joint compound. It is this that will fill the hole and give a smooth and level surface.
- Apply the First Layer: Squeegee a small portion of joint compound using a putty knife and apply it over the tape and patch on the drywall. Apply the compound to the entire patch and feather the edges to make it look like the rest of the wall.
- Let It Dry: Let the first layer dry first. The drying period can be different, though, in general, the drying period is approximately 4-6 hours. Wait and allow time to dry, as time to dry is important in attaining smooth finishing.
- Apply Additional Layers: When the first layer is dry, another application of ointment-like joint compound is done. Smooth out the compound with the putty knife and feather the edges. Allow the second coating to dry thoroughly and apply the third coating as necessary.
Step 5: Sand the Patch Smooth
Sanding is also a necessary process to getting a smooth, professional finish. After drying, the joint compound can be smoothed with a sanding block or sponge and the patch.
- Sand the Surface: Sand the area patched slightly, paying attention to the edges where the compound is contacting the rest of the wall. Sand till the surface is even and smooth.
- Be Gentle: Do not be heavy on the sand or form lumps. This is aimed at making the surface level the same as the rest of the wall.
- Clean the Area: Once sanded, wipe the area with a damp cloth to get any dust off. This will be ready to accept the primer and paint.
Step 6: Prime and Paint the Patched Area
Priming and painting the patched section is the last process in the drywall repair process, whereby the area that has been repaired is supposed to be seamlessly integrated with the rest of the wall.
- Prime the Patch: Coat a layer of primer on the area being patched. Primer assists in sealing the joint compound and enables the paint to stick accordingly.
- Paint the Patch: When the primer is dry, apply paint to the patched area of the same color as the rest of the wall. The paint might require a second coat depending on the color.
- Blend the Texture: When your wall is textured, a sponge or texture spray can be used to add a small amount of texture to the area that is patched. This will assist the patch to blend with the wall it is on.
Step 7: Clean Up
When your patch has dried, clean your work area and put away your tools. This makes sure that your tools are available when you need them to do the next drywall job, but it also keeps your workspace clean.
Common Mistakes to Avoid When Repairing Drywall
Although the repair of drywall is not difficult, some typical mistakes might influence the overall outcome:
- Failure to apply enough compound: It is imperative to apply more layers of joint compound thinly instead of a single thick layer. Layers of thick material can be more difficult to dry and can crack as they dry.
- Omission of sanding: Sanding is essential to a smooth finish. Failure to do this may result in the appearance of an uneven patch.
- Excessive drywall tape: When applying drywall tape, only apply enough to support the joint compound. The surplus of tapes may cause bumps and make the repair more visible.
- Failing to match the wall texture: In case you have a textured wall, make sure that you reproduce the texture on your patch so that it can blend with the wall.
Conclusion
Repairing drywall does not necessarily have to be a complicated undertaking. Given the proper equipment and a bit of patience, it is very easy to correct problems with drywall in your own house and save time and money. Through this step-by-step tutorial, you will be in a position to repair holes in drywall and come up with a clean and professional finish.
It is always all about the preparation and putting on thin layers of the compound and taking time to smooth the patch before applying the paint. This guide will help you successfully approach your drywall repairs and be able to do it, no matter whether you are a total novice or an expert DIYer.